For a number of years now, I have been incorporating stitching into my artwork - both my one-of-a-kind book arts pieces as well as my 2-D and 3-D works. I used to use whatever threads I had on hand and/or found at re-use centers like SCRAP. But in recent years I have been purchasing and experimenting with different kinds of threads including linen, cotton embroidery threads, wool blend threads, etc. Since I have been quite interested in Japanese Boro as of late and have been using repeated running stitches in my pieces I thought it was time to try out some Sashiko Thread. You can read about Sashiko at Design by Aika and this Purl Soho blogpost.
 |
| skeins of sashiko thread |
I found the process of preparing the Sashiko thread quite enjoyable. Like mixing paints, or grinding ink for calligraphy, or even cooking up some wheat paste for bookbinding, there is something satisfying about taking the time to properly prepare your materials for use.
 |
| plaited sashiko thread |
Luckily, I ran across this page on Design by Aika's page before I ordered my Sashiko thread from Purl Soho. So, when my thread arrived I knew to refer back to it otherwise I would have had no idea how to cut down and store my thread - I would have probably made a mess. I'm sharing with you here the photos from the preparation of my thread - but if it doesn't make sense then refer to Aika's page.
 |
| remove the label from the skein |
The threads arrive in skeins. You need to remove the label and carefully open up the skein and find the piece of knotted thread that has been tied around one side of it.
 |
| find the tied knot, hold onto and shake out skein |
Hold that knot firmly between your thumb and index finger and gently shake out and untangle the skein.
 |
| cut the end opposite of the tied end |
At the opposite end of the loop from the tied end - cut it. A little scarey I know - but you have to do it!
 |
| plait, or braid, the threads |
Next, anchor the tied end under something (my laptop worked great!)and braid or plait the threads. I took small groupings of thread from both sides to form the middle portion so I had three semi-equal groupings to braid. As you near the end cut a piece of thread (5 inches or so) to tie around the bottom of the braid.
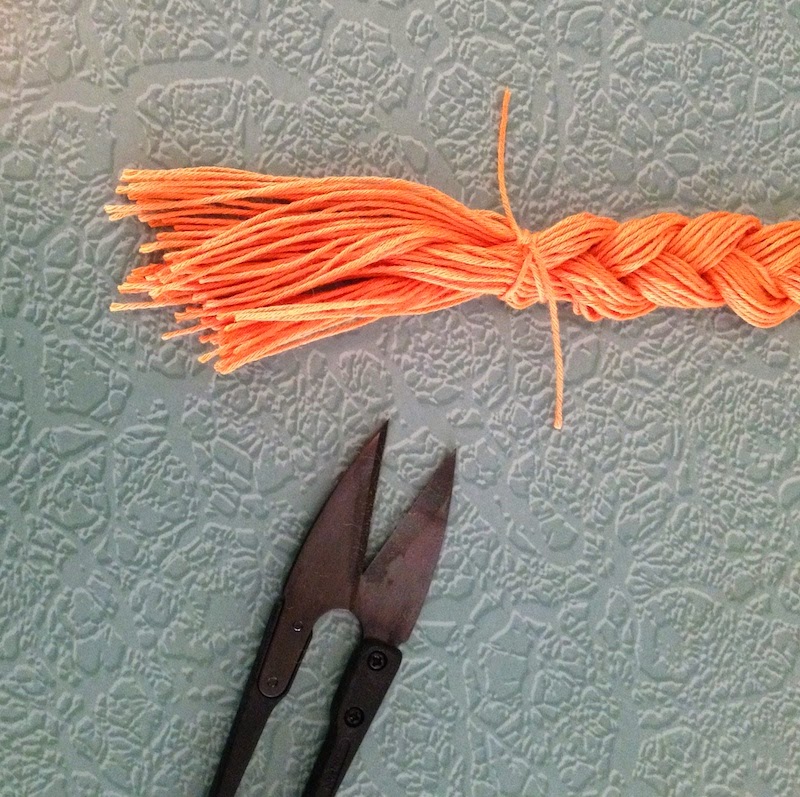 |
| cut off a small piece and tie the end of the braid |
Now you have nice, neat, and beautifully braided cotton Sashiko thread that won't tangle while storing, transporting and working with it.
 |
| when you need a piece just pull a loop out |
When you need a piece of thread just pull a loop from the top and gently pull the piece of thread from the braid - I found that pulling one side at a time works best.
It is recommended to then cut this piece in half so that you are not working with a piece of thread that is too long and tangles.
 |
| thread your needle and stitch! |
Sashiko needles have eyes large enough for this fairly thick thread and they are longer than usual needles so that you can work a number of stitches at once.
Have fun, stitch away and enjoy your thread!
Have fun, stitch away and enjoy your thread!
Don't forget to love your thread, after threading your needle run you fingers down the thread several times to loosen any twist, this helps to prevent tangling
ReplyDeleteYes! I always "love my thread"! Natalie Chanin taught me to do that on Creativebug and it has become an enjoyable habit.
ReplyDeleteHello maate nice blog
ReplyDeleteAwesome
ReplyDelete